Leave a message!

Thank you for visiting my blog! Leave me a message!

Visit my new blog:

Visit my new blog: cards, etc...
AFrenchAccent@blogspot.com

Wednesday, April 11, 2012

Welcome Home

WELCOME...
...home.

As we are nearing the return of our loved ones from college (they are coming home, right? Not finding a job close to their college, right????) I thought it would be fun to make a few "Welcome Home" cards.

Of course those would also have a special meaning for our military personnel... because you see, those houses are all the same but the one you call home is shining from the inside.

That is all the difference between a house and a home.


Now, as I was attaching the "home" in the middle of the row of "houses" with dimensionals, I had an idea...

How about if I made that Home still a little more special in coloring it with my copics... Then I couldn't decide if more was less....


Colored or shining from inside?


I used a stamp set from The Stamps Of Life, but rather than stamping the sentiment, I printed it out.

I rounded the corners of the card and with dimensionals, popped up the Home.

Until next time...

Good Luck on Your Finals

Thanks... with a butterfly

THANKS...
... with a butterfly.

Usually you say thank you with some flowers. But yesterday, I felt like saying thanks with a butterfly.

Each time I clean up my scrapbooking supplies and reorganize them, I found some I had in my possession for a while and never used. I think this is the main advantage of organizing and re-organizing your tools....

The card below is the result of using not one but two "new" tools.


This Cuttlebug embossing folder was part of a pack and I must admit, I had never seen it! Coupled with the use of puffy paint (my go-to tool) it made a pretty good frame around the card.

Next time, I will try to emboss on the other side, it will give a totally different feeling.

The second unknown to the troops (as we, French say) tool was this butterfly die cut. It makes 4 different butterflies... don't ask me for the brand, there is none on it...

I taped one butterfly down and added a second one with the wings up, and a little puffy paint on the body.

Until next time....

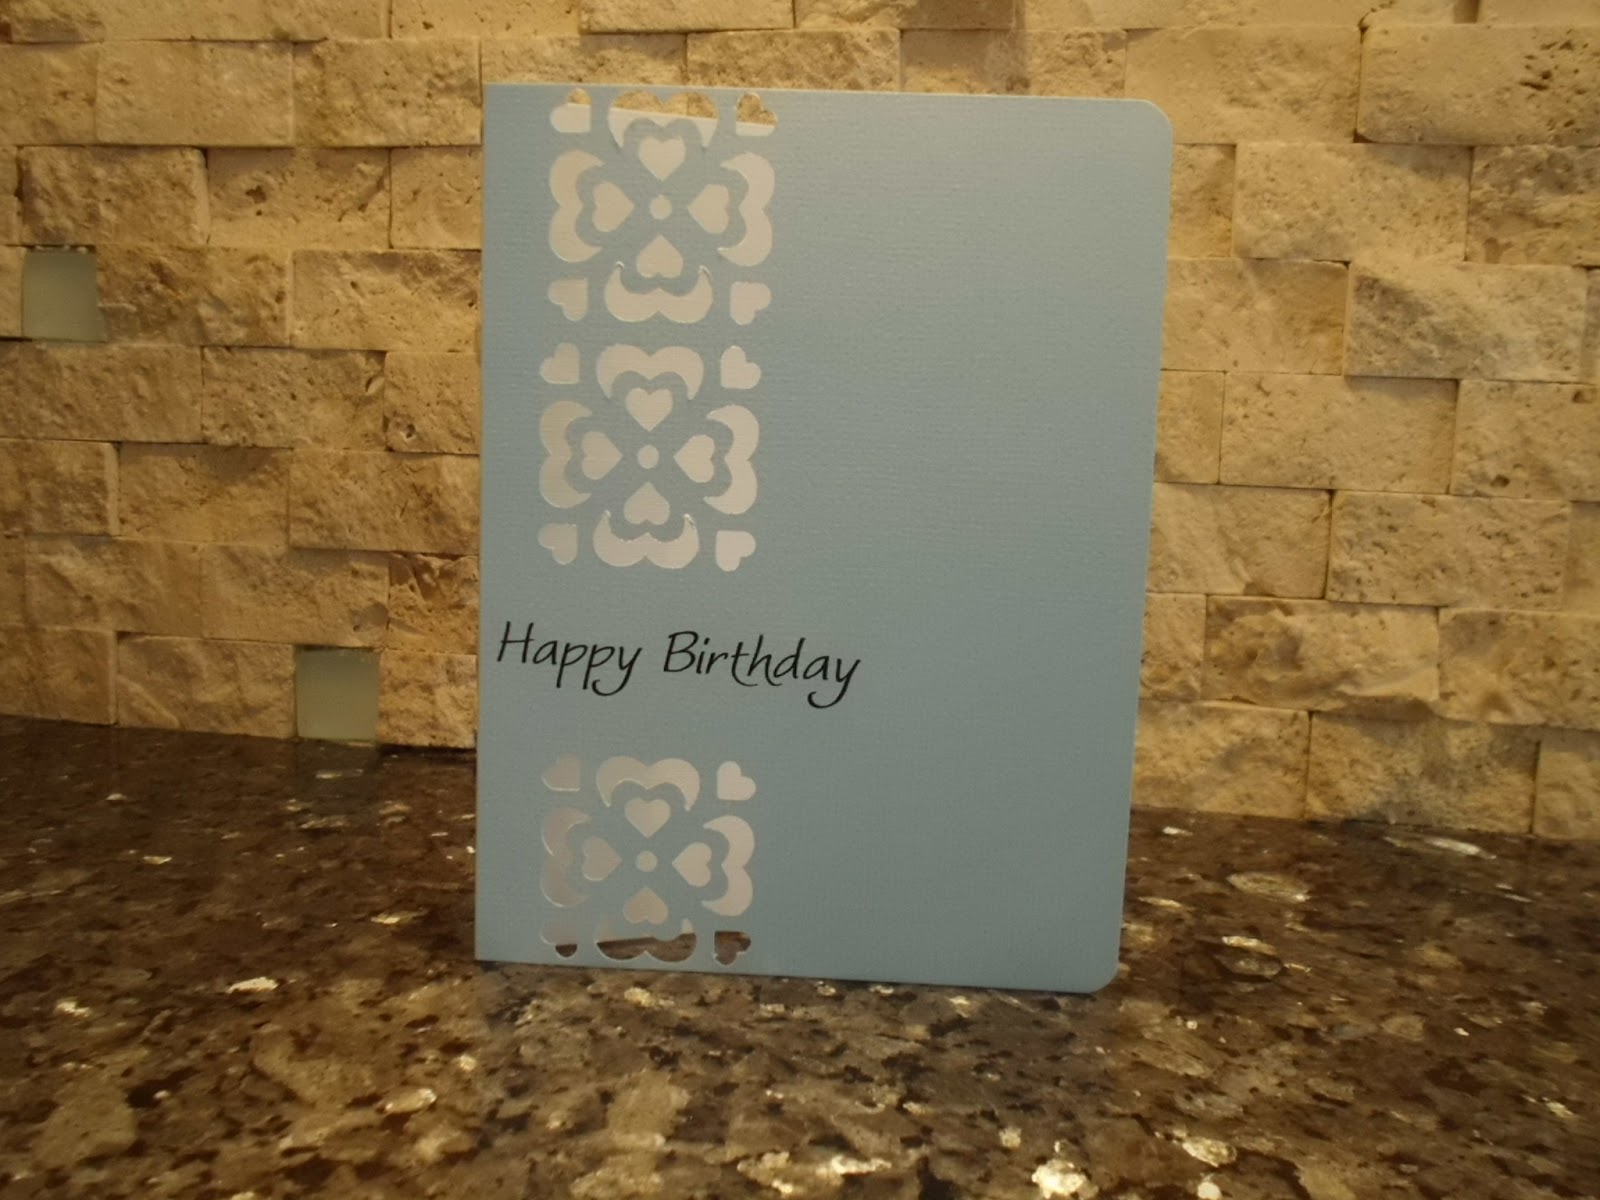
Happy Birthday (with the help of Martha Stewart)

HAPPY BIRTHDAY...
... with the help of Martha Stewart.

When I first discovered those "punches around the pages" I thought this was the idea of a genius. 

How many time, I ask you, you wanted to punch a shape in a paper or card only to discover that the "punch" was too close to the edge or not where you wanted it.

Well, this is where those "punches around the page" come in. 

Exit the frustration, hello the OH MY...


To keep with the simplicity I am feeling comfortable with these days, I chose to punch a column, and insert a simple sentiment in between.

And to make the motive stand out, I put an insert of white paper inside, which will make it also easier to write a message.

There is not much to it... less than 4 mn start to finish.

Until next time....

More New Baby Cards

MORE...
... new baby cards.

I don't know if you have had that experience before, but it happened to me all the time. I browse the web, or spend one hour or two on Pinterest or get lost in those talented ladies blogs, and I found a card that just talk to me.

 I then look at the author name and sure enough, it is the designer I admired just a minute ago for another of her card.

I can count those ladies on the fingers of one, OK, may be two hands.
I really admire what they do.

Tracy is one of those.

Check out her blog:
http://whoistracy.com/myhead/


Now tell me if you don't just love her latest card.

This inspire me to make yet another set of new baby cards.


I used the Papertreyink  "Welcome Little One" stamp set. I can't get enough of this stamped sentiment.

The frame is also cut from a Papertreyink die.

The little ducky was punched with a EK punch, and I used lot of dimensionals to makes the duck and the frame stand out.

I rounded the two bottom corners and added a piece of ribbon.
That's it!

Until next time!

Birthday Orchid

BIRTHDAY...
... orchid.

As Clean And Simple goes, it doesn't get any better than that.

A simple orchid stamped next to a classy sentiment


I used an orchid invite stamp from Stampendous.com, but masked the "invite" part.

I chose a khaki ink to soften the printed image, and filled up the petals part with 3D paint, my go-to Tulip Metallics in white.

When I say simple, I mean simple... simple the results, simple the making...

Until next time..

Butterflies Birthday


BUTTERFLIES...
Birthday.

I always liked cards with a feeling of movement. Nothing like butterflies ready to take flight to illustrate this.

When I was in Julian last week, butterflies were fluttering all over freshly blossomed flowers.

 This inspired me to design this card for a very special friend of mine. I chose this country feel designer paper for its striking resemblance to the field of little flowers under the apple trees.


The butterflies were made with a Martha Stewart punch, as well as the bottom edge of the patterned paper.

I added a "body" to the butterflies with puffy paint, Tulip Metallics White.

The sentiment was designed on my computer.

Until next time...

Thank You For Being So Thoughtful

THANK YOU...
... for being so thoughtful.

Pinterest is MY source of inspiration, daily.

 I found a beautiful card from:

http://iminhaven.blogspot.com/

and another from:

http://www.splitcoaststampers.com/gallery/photo/1965165

and had to try one (or two) of my own...

I just loved the two tones, silver and white.


For both of the card, i printed the sentiment on a silver card stock cut 2/8 shorter than the regular width of an A2 card.

I also punch the bottom edge with a Martha Stewart edger puncher.

For the top one, I used a new stamp from ditto, and just colored the leaves with my copic.

The bottom one used daisies stickers from Stickopotamus and I free drew the stem using a Pentel gold metallic gel pen. Very often, it will appear khaki color on some card stock.

This is it! Thank you my fellow crafters for inspiring me every day.

Until next time!

Thank Heaven for Little Girls


Thank Heaven for little...
... girls.

This Papertrey Ink stamps set is just adorable. I just had to use the sentiment... for little girls today, next time will be for little boys.

Below are two versions of the same card.


The baby footprints stamps is a Recollections one carried by Michael's.

The sentiment is from Papertrey Ink and the heart embossed background is achieved through a Cuttlebug embossing folder,

The frames are made with Nestability.

Until next time...

The Best is Yet to Come

+++ the best...
... is yet to come +++

Now... How cute and versatile is that quote? 
It is perfect for so many occasions: you could make it a wedding card, a new baby card, a graduation card, etc,  etc...

Below are two of my takes, a wedding card and a new baby card. I am sure I will use this again in a near future.

For my first card, I had a craving for flowers and dragonflies. This is what came out!


Here is a close up of the printed sentiment...
 I love the flying  birds in an infinite sign pattern.


The dragonflies are printed in white on silver card stock and I added some dimensional glittery paint on top of the body.


The flowers are punched paper and the centers are made with a Paper-Pen from Viva, in Sunny yellow. Any dimensional paint would work there.

I used a Martha Stewart stamp for the flowers stems, and a Martha Stewart edger punch for the bottom of the silver panel.

The finish touch was a simple bow in clear ribbon.

And now, for a totally different use of this sentiment, a new baby card.


I just can't get enough of this little Recollections baby footprints stamp. I used Nestability to cut a simple circle and a scalloped one to frame the printed image.

 It is then propped up with some foam stickies.
Et voila!!!!

Until next time...

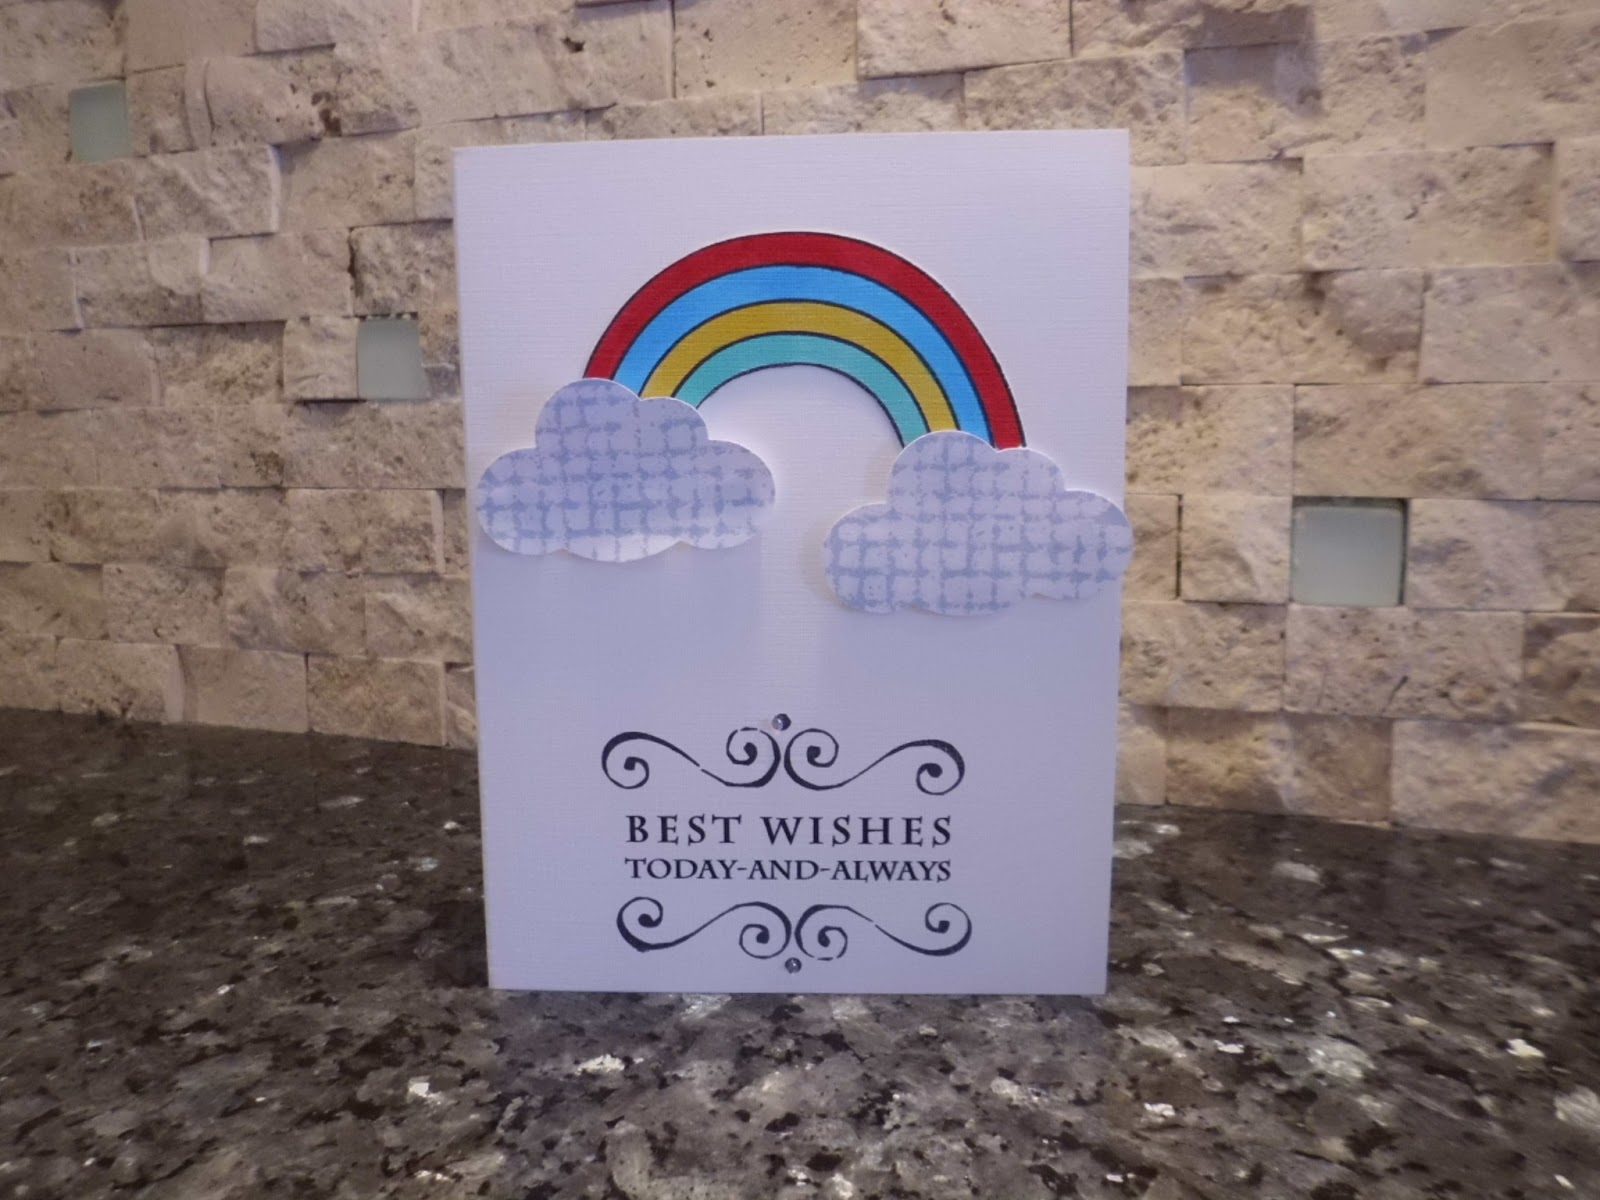
Best Wishes Today and Always

BEST WISHES...
... today and always.

I am back... I am sooo back... Today was one of those productive day I haven't had for month.

In a mere 4 hours, I made 12 (yes TWELVE) cards... Just that. Let's see how many will I post today...

 I have to say those ideas have been brewing for a few days, weeks may be. 
But life got in the way.

Tonight I feel like a million, like always when I realize I used my time wisely.

Here is the first card, with two different sets of clouds. I couldn't decide which ones were more suitable.


I found this sentiment, somewhere on the web. it might have been a stamp, and I hate to say I do not know where that stamp comes from.

I printed my sentiment, and added a stamped image of the swirl on top and bottom.

The rainbow stamp is a DeNami Design. I stamped it on a separate piece of paper, colored and cut it out before taping it, to avoid having the color sip through the paper. 

The clouds were made with a Fizkars mini cloud punch.

Until next time...

Monday, March 26, 2012

Mason Jar Thank you Card

MASON JAR...
...thank you card.

One more! This one was an easy switch. 

I am still in love with the mini cards I made to accompany the care packages we will be making later this week.

I thought it will make a beautiful thank you card.

I just had to make it a standard 4Bar size.


I used a Rubber Cafe stamps for the daisies, and a Stamp By Judith mason jar stamp.

I propped the Mason Jar image with foam stickies and tie a little very slim ribbon around the mouth of the jar.

I rounded the corner of the cards.

Watercolor pencils coloring give the whole image a smooth finish.

The sentiment was printed on my computer.

Until next time...

Topiary Thank You

TOPIARY...
...thank you.

I am back...

Spring vacation are here, robbing me of my time. Not only did I not have any time to post, I had no new card! 

Until yesterday.

Spring is here, and all those flowers in bloom and bird singing made me want to revisit simple thank you cards.

Below is my first attempt.


I love the scoring around the framed image. It gives depth and definition to the image. The trick is to make it equal on each side (1 inch on this card) and equal on the frame too.

I used Martha Stewart clear stamps for the pot, grass and topiary.

Until next time...

Baby Foot Prints

BABY...
... footprints.

How much more beautiful does it get? It doesn't need much more to make a simple little card. A ribbon, a bow....

There is not much to it, really... may be trying to decide what ribbon would go?

Barely a heartache...


I used a Recollections baby footprints stamp and went through my stack of ribbon and found a few that would do the trick.

Until next time....

Yet again... more graduation cards

YET AGAIN....
... more ideas on graduation cards. I guess I never get enough of those.

Red and Black are our high school colors, so most of my ideas come in those two colors. Don't they go together beautifully?

For a change, I rounded the corners of the cards....


I am still using that $1 Michael's stamp set. I cut out the stamped images and used foam stickers to prop them up a little.

The two sentiments are printed on my computer. I found the circular sentiment at:

http://rubberstamping.about.com/od/digitalstamps/tp/free-printable-sentiments.htm


Birthday with a piano

BIRTHDAY...
... with a piano.

Ever since I made that pop-up piano card back in the day, I have been in love with birthday card in a music instrument...

Here is the piano pop up...


...the template is at:

http://afrenchaccent.blogspot.com/2011/11/piano.html

I used the same idea of an open music sheet for my new piano card.

The web is full of keyboard and sheet music images and you can choose the one that fit you best.

You can also choose a different accent than the little flowers I added, like music notes for example.


I used a black card-stock and drew freely a shape of a Grand piano. 

The keyboard and piano music sheet were downloaded from the  web.

I just cut around the sheet music with a cutter, leaving 1/4 inch top and bottom. 

You just need to bend a little the paper to have the impression that the music piece is open.

Until next time...

Wednesday, March 14, 2012

So Blessed...

SO BLESSED...
Today was the day I  was going to "jump" and try myself at those flip cards you can see all over the Stamping Blogs.

What a better  occasion to celebrate than a new arrival?

Below is my take on it.


Those flip cards are from A Cut Above.

I used a EK tags punch for the drawers, and the little detail at the bottom of the dresser is made with a Nestability.

I inked the edge of the cards and the drawers to make them stand out a little.

Until next time...

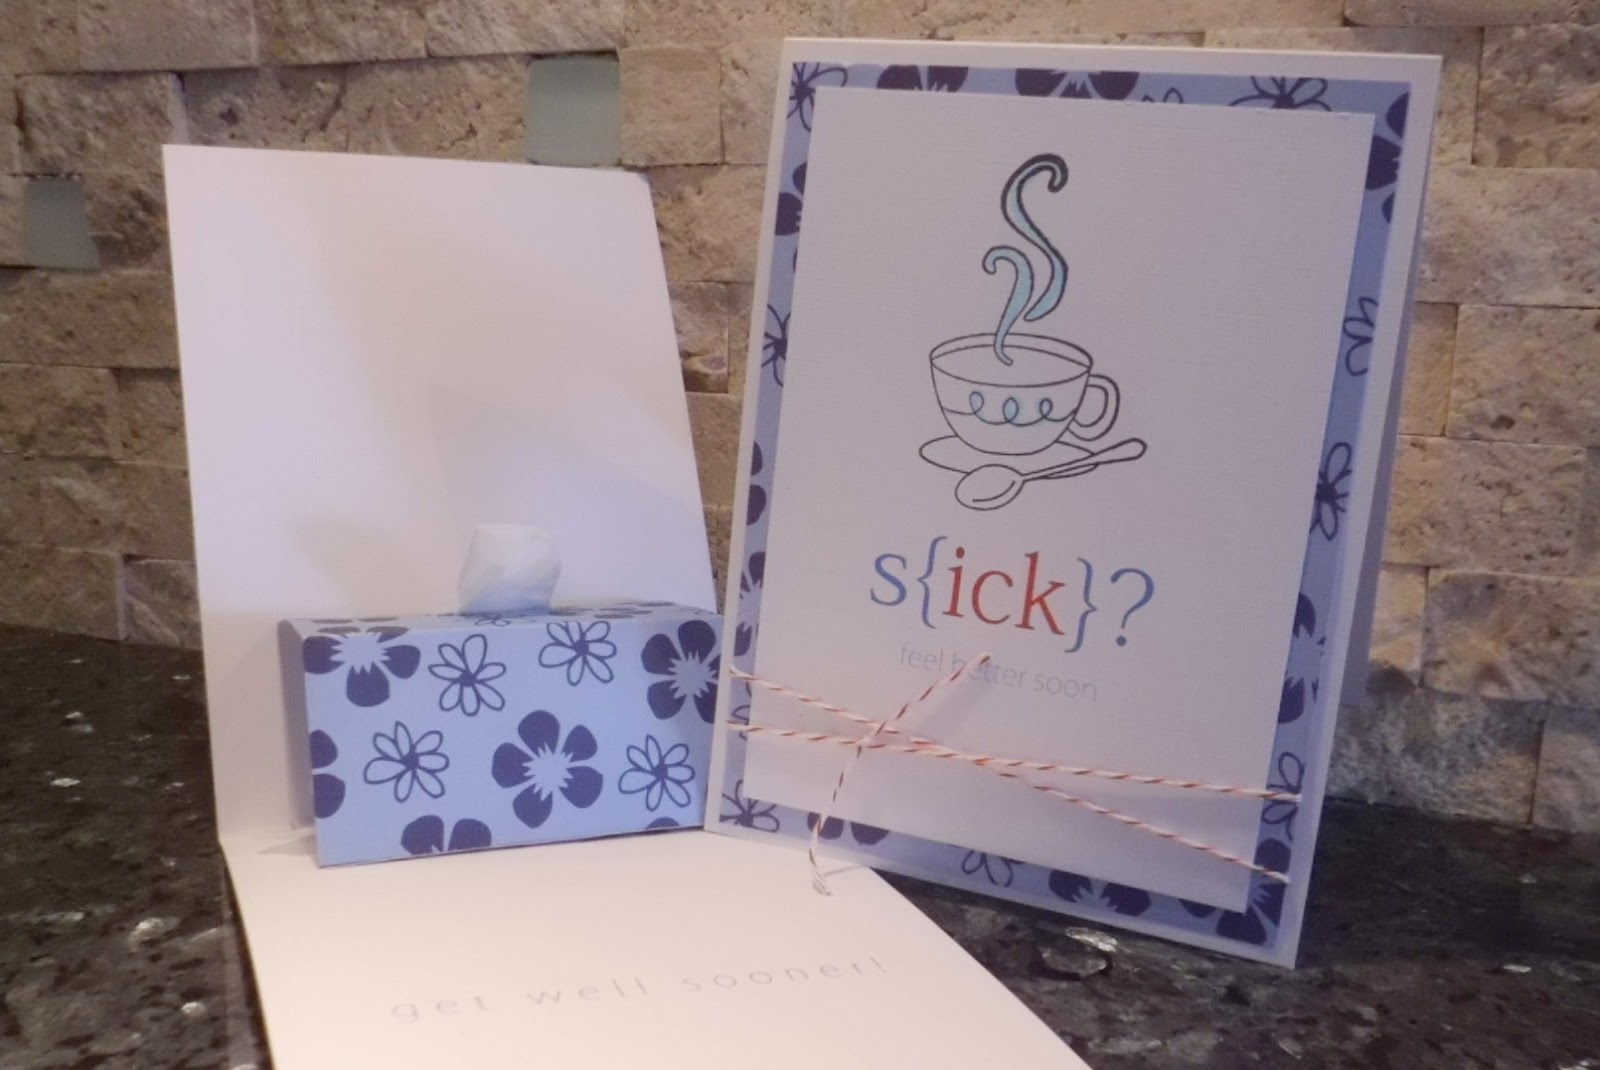
S {ICK} ?

S {ICK} ?...
...feel better soon!

Another wonderful find on Pinterest! (Don't you love that place...
After Facebook, here is another dangerous way of loosing a lot of your time.)

Anyhow, this card is a card with a twist! Once you open it, you have a...


...kleenex box stuffed with a tissue!

What a clever idea!  Lorri Helling on her blog,  "Confessions of a Stamping Addict", has very easy directions on how to makes this tissue box.

Here is the direct link:

http://stampingaddict.blogspot.com/2012/01/cold-and-flu-season-get-well-card.html


Unfortunately the stamp I used doesn't have a brand on... I got it at Joann, of this I am sure.

I also took my Martha Stewart Baker's twine. It always add a beautiful final touch to any card.

Until next time...


You made my day...

YOU MADE MY DAY...
... a little brighter.

There is no other day better fit for this card than today... or the other way around.
I was awaken this morning by a phone call from my daughter announcing she was accepted in Boston University for graduate school. 

We have been waiting for months to hear such a good news.

Here I am, uploading this card on my blog, and I am thinking this is a card made for occasions like this one.

I lifted this idea from Debby Hughes. She has a wonderful blog, Limedoodle and if you want to see her card, follow the link below:  

http://limedoodle.blogspot.com/2011/08/you-made-my-day.html


I do not own the Lil' Inker dies and stamps, I used a Quickutz rainbow die and two Fiskars punches for the small and bigger clouds, instead. 

The big cloud was turned into a tree canopy per Debby idea. I run it through my Cuttlebug with 6 different colored card-stocks to make a truer that life rainbow.

The sentiment was printed in my computer, and the little heart is a Stubby from Stamps by Judith.

Until next time...

It's a Boy/ It's a Girl

IT'S A BOY...
... or it's a girl. I had those two sentiments in mind when I designed the next four cards. A couple days ago, I played with my new stamp/die cut set from Papertrey Ink and made a few pieces of baby clothing but I had no definite idea of a card. 

Yesterday it hit me...

Below is the result of that "bon sang mais c'est bien sur".

Two sets of cards, with the "boy" and "girl" version for each...


The stamps and die cuts are from Papertrey Ink.

The two different fonts I chose are Kozuka Gothis Pro and England Hand DB.

I just love to mix fonts...

Until next time...