Leave a message!

Thank you for visiting my blog! Leave me a message!

Visit my new blog:

Visit my new blog: cards, etc...
AFrenchAccent@blogspot.com

Wednesday, March 14, 2012

Graduation... a last hick-up....

GRADUATION...
... a last hick-up. Well just for this week at least. I can't say the Graduation virus won't strike again but for now, this is it.
Two more little simple cards, with popped up graduation classic (a cape and a diploma), inside a circular sentiment.
It doesn't get any simpler than that.
I chose silver and black, but this card could be customized to any high school or college colors.
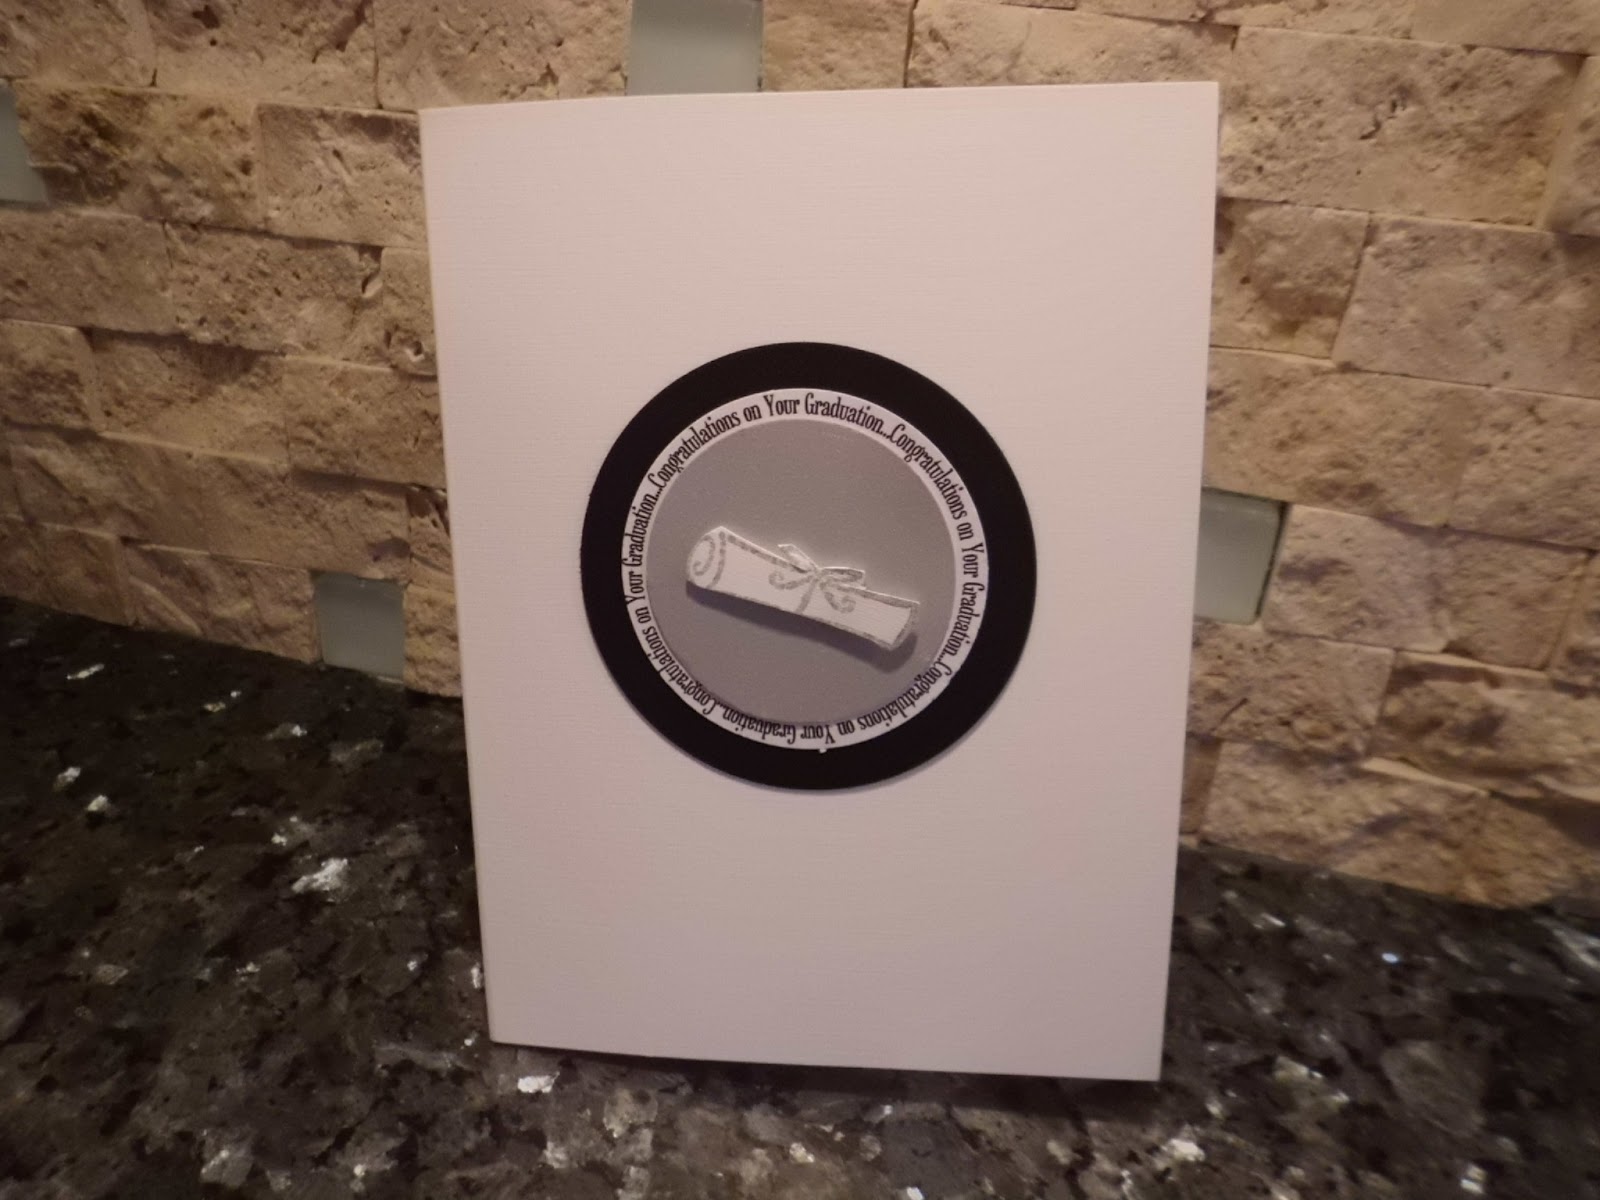
Looking at the pictures below, I just realized I forgot to highlight the tassel and the cord on the diploma in gold... just close your eyes and imagine.


I am still using that $1 stamp set, my favorite when we talk graduation.
The circular sentiment were downloaded from the internet at:

http://rubberstamping.about.com/od/digitalstamps/tp/free-printable-sentiments.htm

Until next time...

Saturday, March 10, 2012

Graduation... again?

GRADUATION....
...again???? Well, when I get inspired, I just ride the wave...
Two words were blinking in my mind: Graduation and Simple... Below is the result. 
Two very simple graduation cards, made in mere minutes...


I used one of those $1 stamp set in metallic ink on black card-stock. I also stamped the image in black ink on the white card-stock and use a metallic Pentel to highlight the tassel. The black cape was propped with another dimensional sticky.
Until next time...

Love You

I LOVE YOU...
... three little words, packed with punch AND oh! so versatile. 
A card adorned this way, can work from Valentine's day to Father's/Mother's Day to a special anniversary.
I first saw this card on a papertreyink blog, and fell in love with it...
The mix of Kraft paper, baker's twine and the simplicity of the message...
Check it out:

http://apassionforpapertrey.blogspot.com/2012/02/challenge-needle-and-thread.html

Choosing the font is very important; you have to find one that feel just right.
I printed "love you"  on a Kraft paper from paperandmore.com and use Martha Stewart baker's twine. 
I made 3 more of this card and I made the "X" smaller (1 inch instead of 1 1/4)... I think it looked better. The kraft panel is raised by dimensional squares.
Until next time....

Hush....

HUSH....
... I just hope Jen is too busy with her everyday life to go check my blog. My daughter 22nd birthday is right around the corner and I have been thinking and thinking, surfing the web over and over, looking for the best matched card for her birthday. 
I found it.
A heart, because she fills up mine...
 A bouquet of flowers, because that is the feeling we have when she is home...


This card was made using my Slice. I had to fiddle to find the perfect size for the "2s" and the perfect font as to have them fit in the heart.
The rest is easy as a breeze: punch two sizes of flowers in two different color and put them all over. 
The bow is a bunny ears bow, the easiest to make.
The heart of the flowers is made with a 3D Tulip, metallic paint.
Now come the hardest part in the whole process: waiting for the paint to dry.
Avoid a whole lot of problems and wait overnight before handling this kind of card.

Here is the same card without the 22:


 Until next time...

Happy Spring

HOW DELIGHTFUL...
 ...it is when you can feel the change in the air in the morning, even if there is that leftover crispiness from a lingering winter.
That prompt me to design this very simple mini card for our upcoming college girls care package. 
A bitter sweet one, because this time, no hiding, it will be the last... our 22 years old girls are graduating this spring and there goes the excuse, us moms (and friends for more than 15 years) have been using to get together around appetizers and wine 4 times a year, for the past 4 years.


This mini card was made using a stamp that is going to become my favorite, no doubt: the "jar" from Stamps by Judith and Heather. The bouquet of daisies is from The Rubber Cafe and I tried myself at watercolors this time. 
 For once, my Copic markers stayed in their drawer, and I used the VersaMarker pen with the watercolors pencils. 
It was as much fun as when I was kid, using a watered down paint brush on those coloring book with dry paint.
Will use those more from now on...
Until next time.....

Flowers in Jars

FRESH...
... i felt like designing a "fresh" card... When my kids were little there was not a day that passed by when one would not come to find me in the kitchen with a little flower they had picked in the garden for me.
I would grad a jam jar fill it up with water and put the lone flower in.
How proud would I make them then....
Three kids, three flowers, in the three windows of this card.
This is a peek in my life, 10 years ago...


This window card is from A Cut Above, the jar stamp is from Stamp by Judith.
The lone flower is a composite of a stem by Martha Stewart and a daisy by Stamp by Judith.
The circle happy Birthday is from the Rubber Cafe.
The Copic markers were lightly used.
Until next time....

Just for you

LAST OCTOBER...
... I went to Sacramento to attend the Scrap Fair there, and I stumbled upon that exhibitor who was showing how to make those beautiful glass pendants.
You need a special glue, some glass square, some bells to hang the pendant... then comes the fun part.
You need nice pictures, and the internet has plenty of those!


The windows are made with the Nestability, those are the perfect tool to make a window and a bigger window in the top paper giving the feeling you are looking at a frame.
 The top paper is tiffany Blue in color, and as most of the card stocks, envelopes or plain paper I use, comes from this wonderful company Paperandmore.com.
They have the best customer service, the price are competitive and they are quick!
I run that paper in an embossing folder.
The banner was printed on the computer.
Until next time...