Leave a message!

Thank you for visiting my blog! Leave me a message!

Visit my new blog:

Visit my new blog: cards, etc...
AFrenchAccent@blogspot.com

Monday, March 26, 2012

Mason Jar Thank you Card

MASON JAR...
...thank you card.

One more! This one was an easy switch. 

I am still in love with the mini cards I made to accompany the care packages we will be making later this week.

I thought it will make a beautiful thank you card.

I just had to make it a standard 4Bar size.


I used a Rubber Cafe stamps for the daisies, and a Stamp By Judith mason jar stamp.

I propped the Mason Jar image with foam stickies and tie a little very slim ribbon around the mouth of the jar.

I rounded the corner of the cards.

Watercolor pencils coloring give the whole image a smooth finish.

The sentiment was printed on my computer.

Until next time...

Topiary Thank You

TOPIARY...
...thank you.

I am back...

Spring vacation are here, robbing me of my time. Not only did I not have any time to post, I had no new card! 

Until yesterday.

Spring is here, and all those flowers in bloom and bird singing made me want to revisit simple thank you cards.

Below is my first attempt.


I love the scoring around the framed image. It gives depth and definition to the image. The trick is to make it equal on each side (1 inch on this card) and equal on the frame too.

I used Martha Stewart clear stamps for the pot, grass and topiary.

Until next time...

Baby Foot Prints

BABY...
... footprints.

How much more beautiful does it get? It doesn't need much more to make a simple little card. A ribbon, a bow....

There is not much to it, really... may be trying to decide what ribbon would go?

Barely a heartache...


I used a Recollections baby footprints stamp and went through my stack of ribbon and found a few that would do the trick.

Until next time....

Yet again... more graduation cards

YET AGAIN....
... more ideas on graduation cards. I guess I never get enough of those.

Red and Black are our high school colors, so most of my ideas come in those two colors. Don't they go together beautifully?

For a change, I rounded the corners of the cards....


I am still using that $1 Michael's stamp set. I cut out the stamped images and used foam stickers to prop them up a little.

The two sentiments are printed on my computer. I found the circular sentiment at:

http://rubberstamping.about.com/od/digitalstamps/tp/free-printable-sentiments.htm


Birthday with a piano

BIRTHDAY...
... with a piano.

Ever since I made that pop-up piano card back in the day, I have been in love with birthday card in a music instrument...

Here is the piano pop up...


...the template is at:

http://afrenchaccent.blogspot.com/2011/11/piano.html

I used the same idea of an open music sheet for my new piano card.

The web is full of keyboard and sheet music images and you can choose the one that fit you best.

You can also choose a different accent than the little flowers I added, like music notes for example.


I used a black card-stock and drew freely a shape of a Grand piano. 

The keyboard and piano music sheet were downloaded from the  web.

I just cut around the sheet music with a cutter, leaving 1/4 inch top and bottom. 

You just need to bend a little the paper to have the impression that the music piece is open.

Until next time...

Wednesday, March 14, 2012

So Blessed...

SO BLESSED...
Today was the day I  was going to "jump" and try myself at those flip cards you can see all over the Stamping Blogs.

What a better  occasion to celebrate than a new arrival?

Below is my take on it.


Those flip cards are from A Cut Above.

I used a EK tags punch for the drawers, and the little detail at the bottom of the dresser is made with a Nestability.

I inked the edge of the cards and the drawers to make them stand out a little.

Until next time...

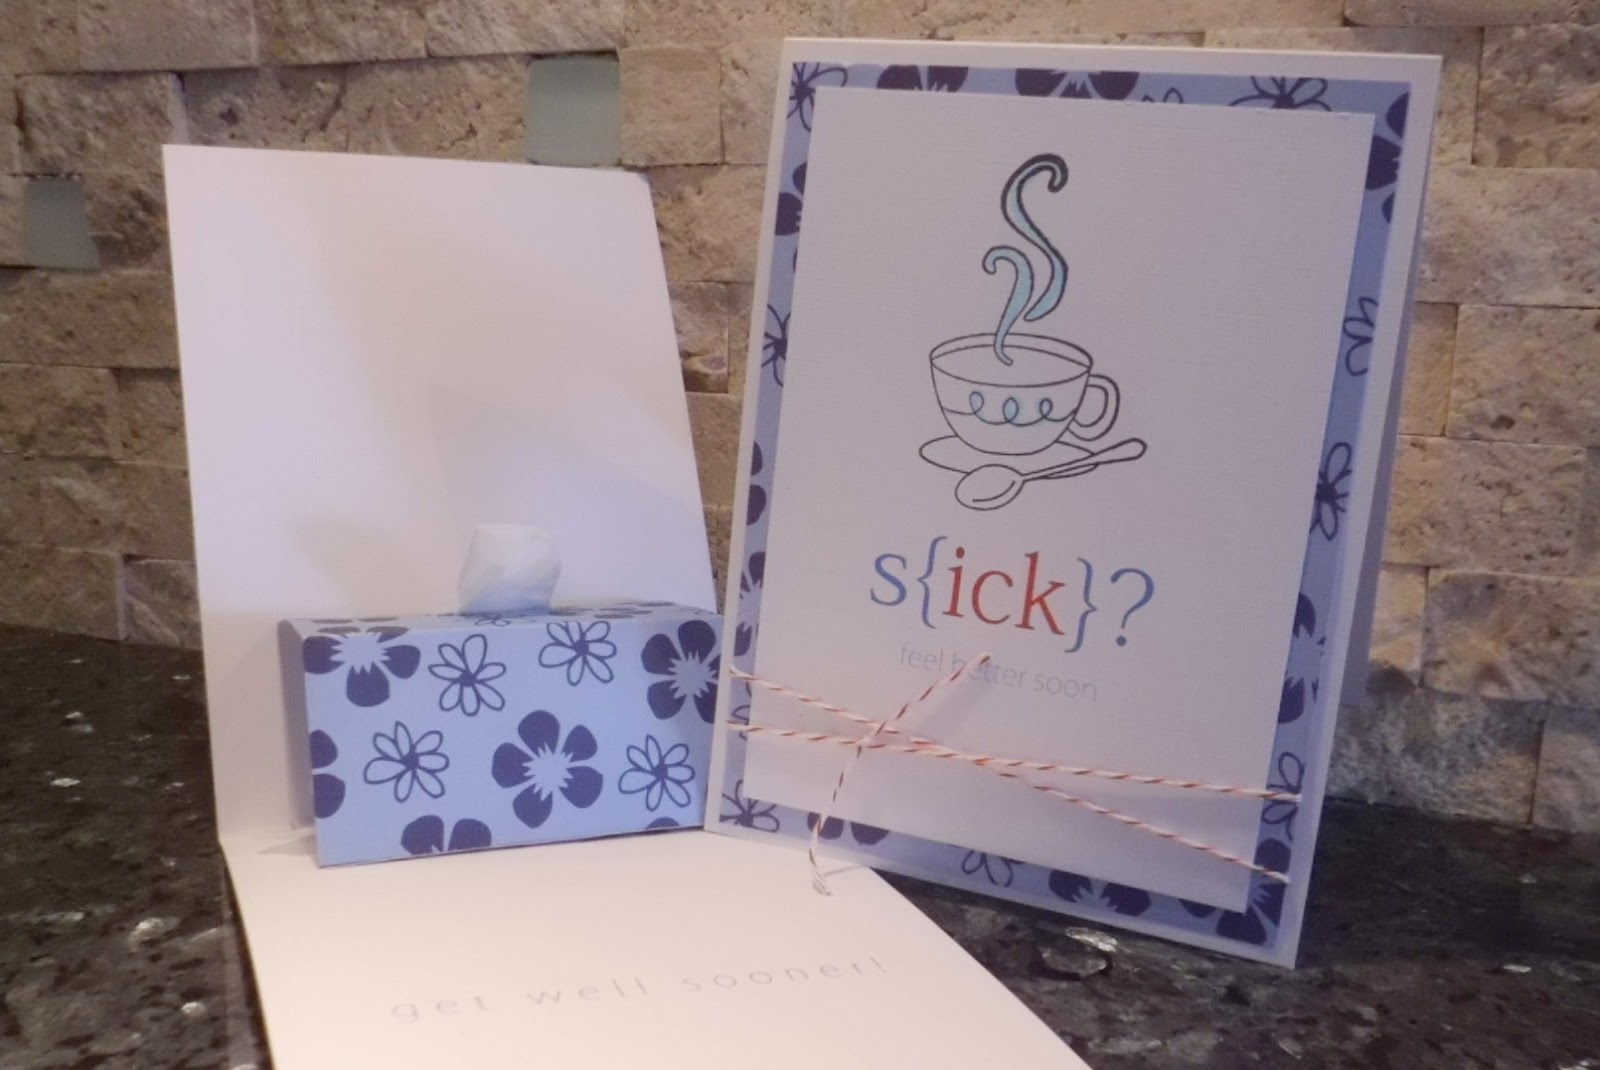
S {ICK} ?

S {ICK} ?...
...feel better soon!

Another wonderful find on Pinterest! (Don't you love that place...
After Facebook, here is another dangerous way of loosing a lot of your time.)

Anyhow, this card is a card with a twist! Once you open it, you have a...


...kleenex box stuffed with a tissue!

What a clever idea!  Lorri Helling on her blog,  "Confessions of a Stamping Addict", has very easy directions on how to makes this tissue box.

Here is the direct link:

http://stampingaddict.blogspot.com/2012/01/cold-and-flu-season-get-well-card.html


Unfortunately the stamp I used doesn't have a brand on... I got it at Joann, of this I am sure.

I also took my Martha Stewart Baker's twine. It always add a beautiful final touch to any card.

Until next time...