Leave a message!

Thank you for visiting my blog! Leave me a message!

Visit my new blog:

Visit my new blog: cards, etc...
AFrenchAccent@blogspot.com

Wednesday, April 11, 2012

Welcome Home

WELCOME...
...home.

As we are nearing the return of our loved ones from college (they are coming home, right? Not finding a job close to their college, right????) I thought it would be fun to make a few "Welcome Home" cards.

Of course those would also have a special meaning for our military personnel... because you see, those houses are all the same but the one you call home is shining from the inside.

That is all the difference between a house and a home.


Now, as I was attaching the "home" in the middle of the row of "houses" with dimensionals, I had an idea...

How about if I made that Home still a little more special in coloring it with my copics... Then I couldn't decide if more was less....


Colored or shining from inside?


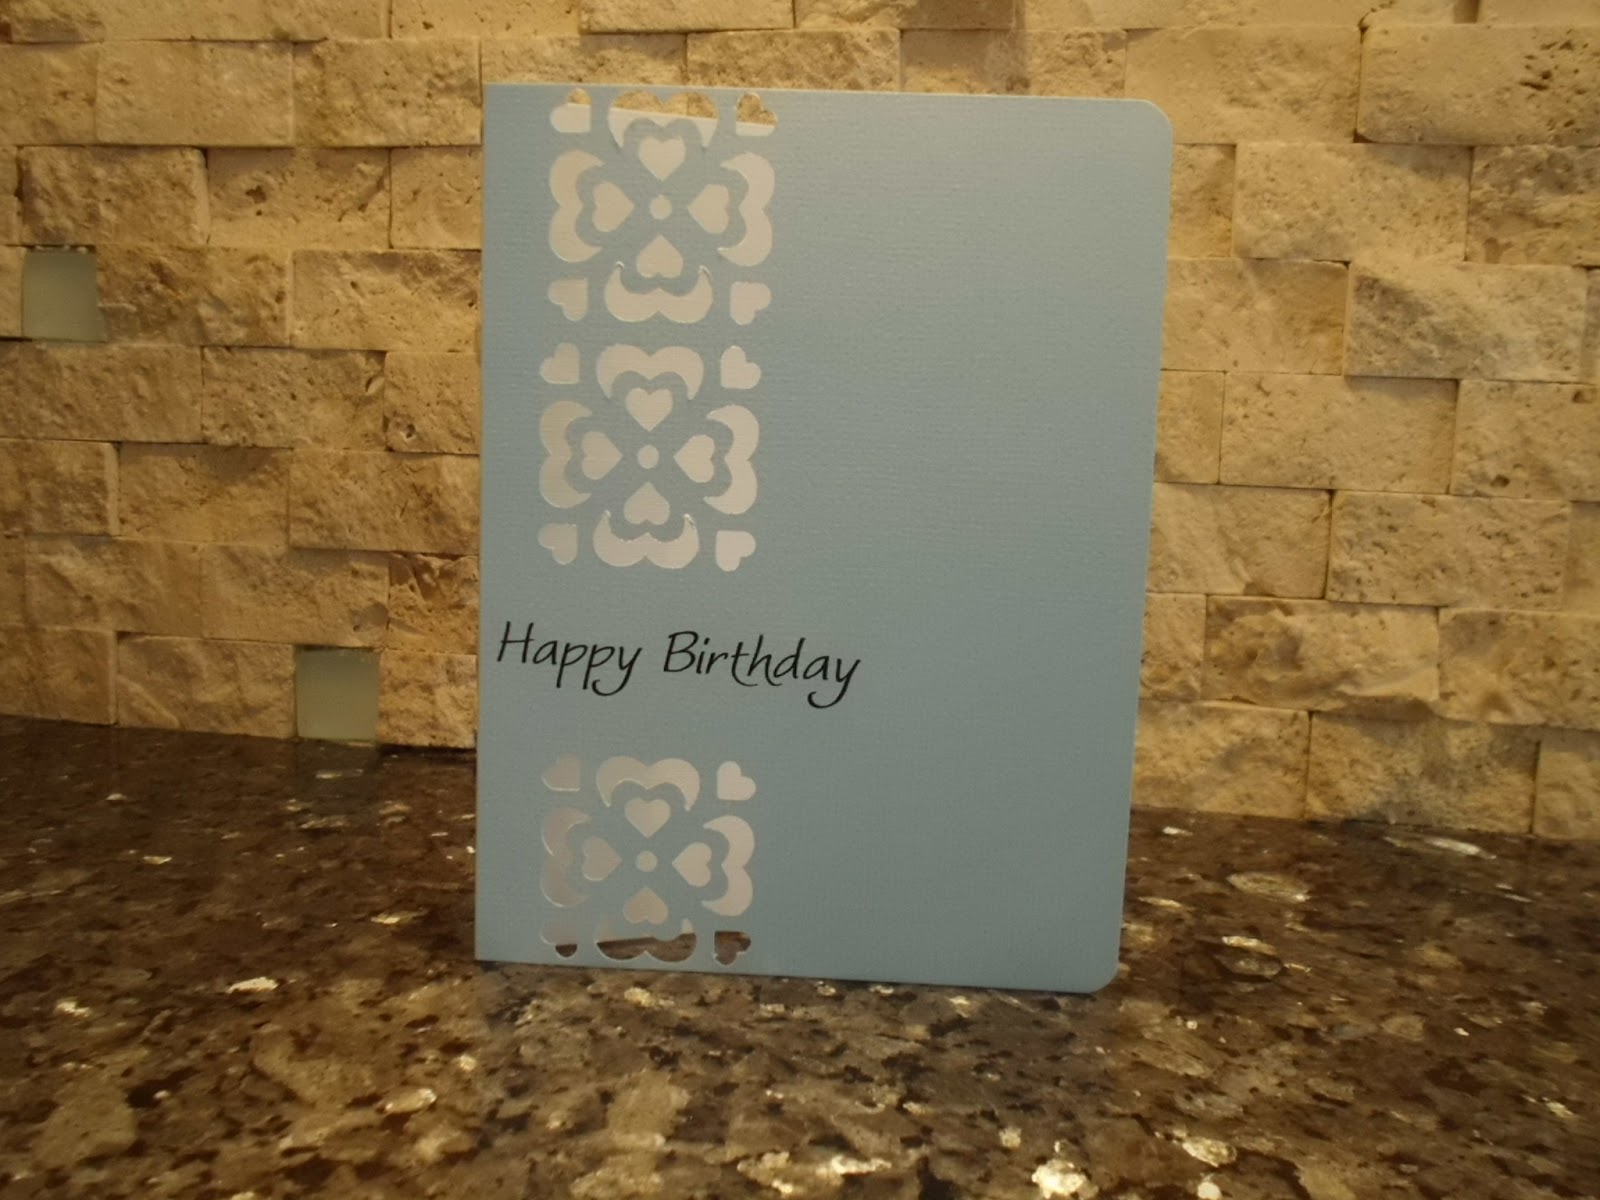
I used a stamp set from The Stamps Of Life, but rather than stamping the sentiment, I printed it out.

I rounded the corners of the card and with dimensionals, popped up the Home.

Until next time...

Good Luck on Your Finals

Thanks... with a butterfly

THANKS...
... with a butterfly.

Usually you say thank you with some flowers. But yesterday, I felt like saying thanks with a butterfly.

Each time I clean up my scrapbooking supplies and reorganize them, I found some I had in my possession for a while and never used. I think this is the main advantage of organizing and re-organizing your tools....

The card below is the result of using not one but two "new" tools.


This Cuttlebug embossing folder was part of a pack and I must admit, I had never seen it! Coupled with the use of puffy paint (my go-to tool) it made a pretty good frame around the card.

Next time, I will try to emboss on the other side, it will give a totally different feeling.

The second unknown to the troops (as we, French say) tool was this butterfly die cut. It makes 4 different butterflies... don't ask me for the brand, there is none on it...

I taped one butterfly down and added a second one with the wings up, and a little puffy paint on the body.

Until next time....

Happy Birthday (with the help of Martha Stewart)

HAPPY BIRTHDAY...
... with the help of Martha Stewart.

When I first discovered those "punches around the pages" I thought this was the idea of a genius. 

How many time, I ask you, you wanted to punch a shape in a paper or card only to discover that the "punch" was too close to the edge or not where you wanted it.

Well, this is where those "punches around the page" come in. 

Exit the frustration, hello the OH MY...


To keep with the simplicity I am feeling comfortable with these days, I chose to punch a column, and insert a simple sentiment in between.

And to make the motive stand out, I put an insert of white paper inside, which will make it also easier to write a message.

There is not much to it... less than 4 mn start to finish.

Until next time....

More New Baby Cards

MORE...
... new baby cards.

I don't know if you have had that experience before, but it happened to me all the time. I browse the web, or spend one hour or two on Pinterest or get lost in those talented ladies blogs, and I found a card that just talk to me.

 I then look at the author name and sure enough, it is the designer I admired just a minute ago for another of her card.

I can count those ladies on the fingers of one, OK, may be two hands.
I really admire what they do.

Tracy is one of those.

Check out her blog:
http://whoistracy.com/myhead/


Now tell me if you don't just love her latest card.

This inspire me to make yet another set of new baby cards.


I used the Papertreyink  "Welcome Little One" stamp set. I can't get enough of this stamped sentiment.

The frame is also cut from a Papertreyink die.

The little ducky was punched with a EK punch, and I used lot of dimensionals to makes the duck and the frame stand out.

I rounded the two bottom corners and added a piece of ribbon.
That's it!

Until next time!

Birthday Orchid

BIRTHDAY...
... orchid.

As Clean And Simple goes, it doesn't get any better than that.

A simple orchid stamped next to a classy sentiment


I used an orchid invite stamp from Stampendous.com, but masked the "invite" part.

I chose a khaki ink to soften the printed image, and filled up the petals part with 3D paint, my go-to Tulip Metallics in white.

When I say simple, I mean simple... simple the results, simple the making...

Until next time..

Butterflies Birthday


BUTTERFLIES...
Birthday.

I always liked cards with a feeling of movement. Nothing like butterflies ready to take flight to illustrate this.

When I was in Julian last week, butterflies were fluttering all over freshly blossomed flowers.

 This inspired me to design this card for a very special friend of mine. I chose this country feel designer paper for its striking resemblance to the field of little flowers under the apple trees.


The butterflies were made with a Martha Stewart punch, as well as the bottom edge of the patterned paper.

I added a "body" to the butterflies with puffy paint, Tulip Metallics White.

The sentiment was designed on my computer.

Until next time...